To access the Employee File, select Employee – Employee from the top menu bar (Fig 1).
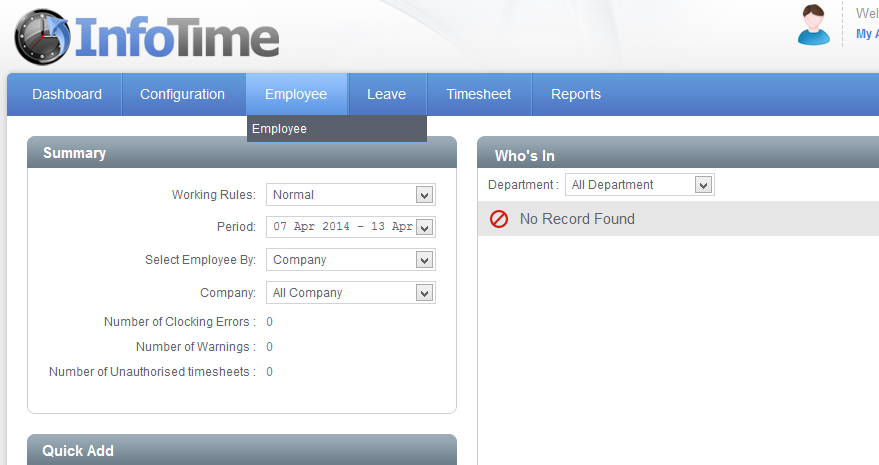
Fig 1
This will load the Employee File (Fig 2).
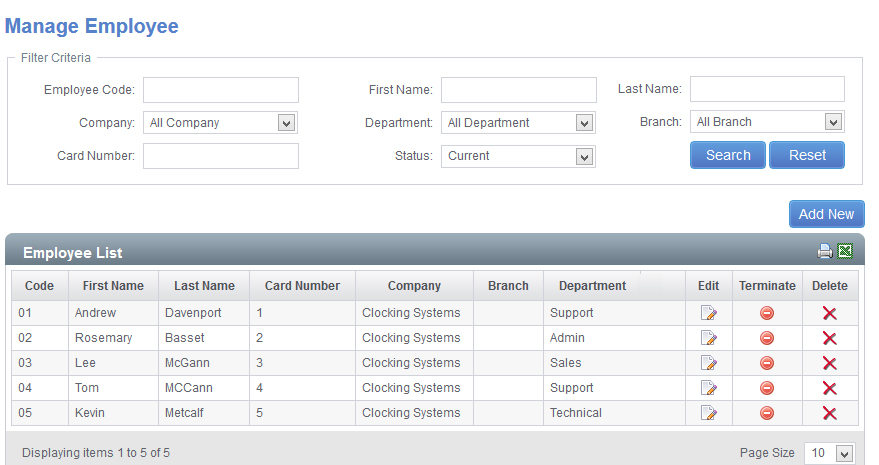
Fig 2
To add an employee click the Add New button. The Add Employee screen will load (Fig 3).
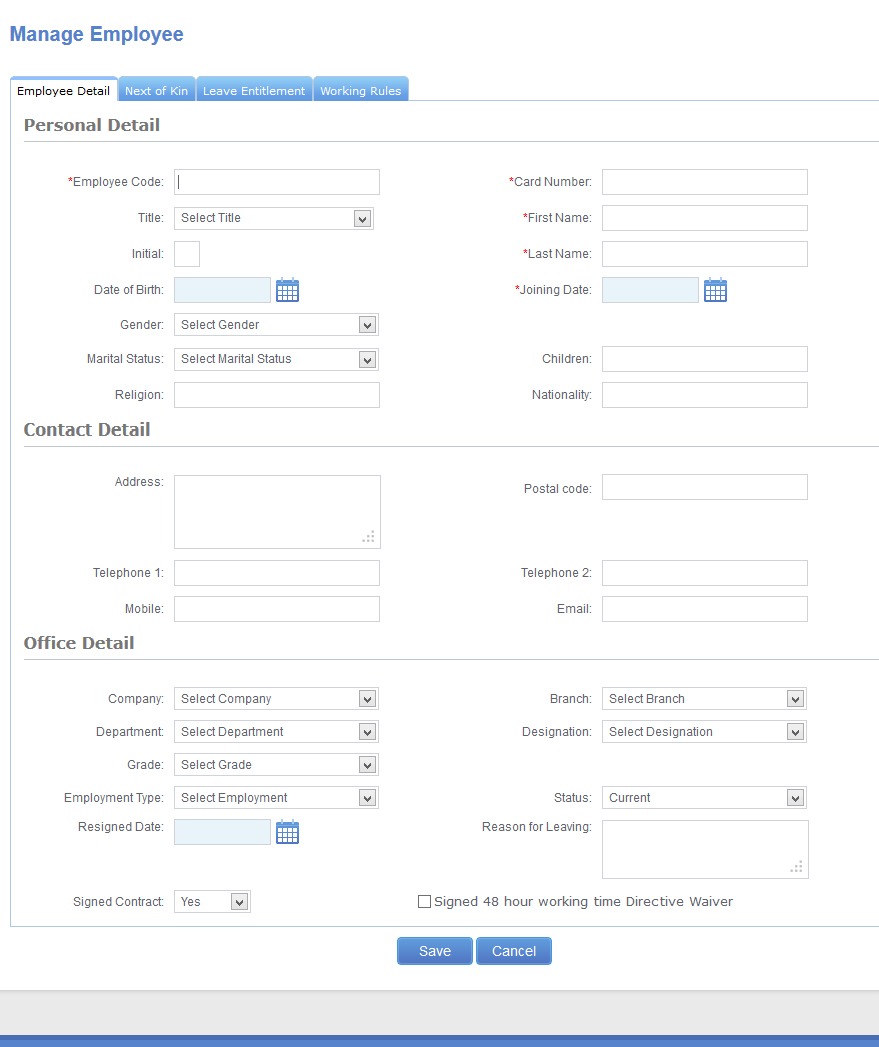
Fig 3
The information you can enter about an employee is broken into 4 separate pages; Employee Detail, Next of Kin, Leave Entitlement and Working Rules.
The majority of fields on these pages is optional however there are some that must be completed in order to add a new employee.
On the Employee Detail page you must fill in all the fields marked with a *. This means you must enter an Employee Code, Card Number, First Name, Last Name and Joining Date.
Then, if the employee is clocking in and out you must go to the Working Rules page and assign them a Working Rule. If the employee is only on the system so that you can record their employee details and will not be clocking then you do not need to assign a Working Rule.
Employee Details Field Definitions
| Employee Code* | A unique code for this employee, this could be their payroll number or some other number you use to refer to this employee. |
| Card Number* | When using a proximity card system this will be the number printed on the back of the card or fob issued to the employee. Where the terminal connected to the software uses some kind of biometric reader (i.e. facial recognition or a hand recognition) this will be the ID number the user is registered as on the terminal. |
| Title* | The employee's title i.e. Mr, Mrs, etc |
| First Name* | The employee's first name |
| Initial | The employee's initial |
| Last Name* | The employee_s surname |
| Date of Birth | The employee's date of birth |
| Joining Date* | Using the calendar you can select the employee_s start date, this does not have to be the exact date the employee started working for you company, but it must be the first day they clocked or earlier. |
| Gender | Male or Female |
| Payroll Number | The employee's number in your payroll software if different to the one entered as their InfoTime employee number. This number can then be used on the Sage Payroll Output csv file. |
| Marital Status | Is the employee married or single |
| Children | The number of children this employee has |
| Religion | What religion the employee is |
| Nationality | The employee's nationality |
| Address | The employee's postal address |
| Post Code | Post code for the address entered in the previous field |
| Telephone 1 | A contact telephone number |
| Telephone 2 | A second contact telephone number |
| Mobile | The employee's mobile number |
| The employee's email address, this could be either a work or personal email address | |
| Company | You can assign the employee to one of the companies you set up in the Classification section of the system. |
| Branch | You can assign the employee to one of the branches you set up in the Classification section of the system. |
| Department | You can assign the employee to one of the departments you set up in the Classification section of the system. |
| Designation | You can assign the employee to one of the designations you set up in the Classification section of the system. |
| Grade | You can assign the employee to one of the grades you set up in the Classification section of the system. |
| Employment Type | You can set what type of employee this is, i.e. full time, part time, agency. This field does not affect how they are paid |
| Status | Is a current employee or a terminated employee |
| Resigned Date | If the employee is marked as terminated this will hold their date they left |
| Reason for Leaving | You can enter their reason for leaving in this box |
| Signed Contract | A human resources field that allows you to track that this employee has signed a contract |
| Signed 48 hour working time Directive Waiver | A human resources field that allows you to track that this employee has a signed a waiver saying they are willing to work more than 48 hours a week if needed. |
Once you have entered the required details on this page you can switch to the Next of Kin page (Fig 4).
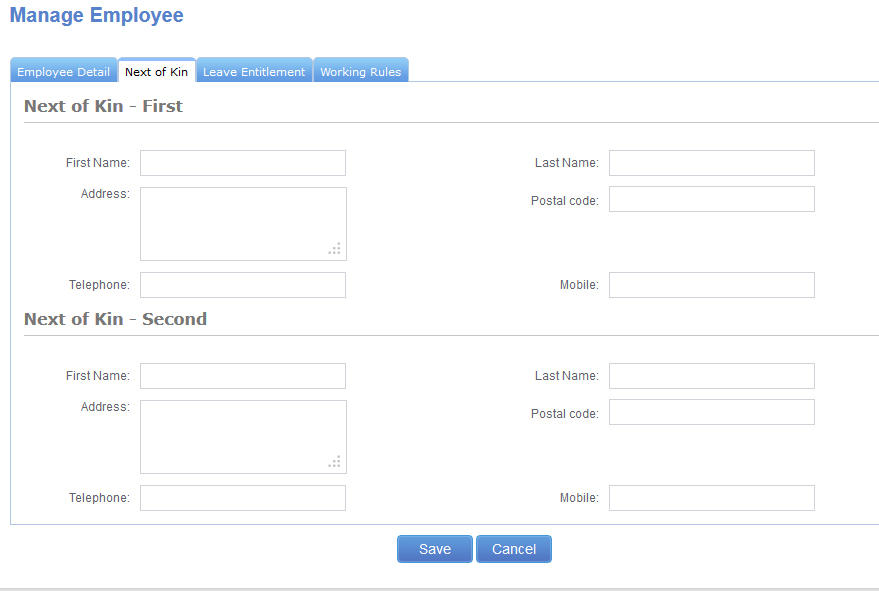
Fig 4
On this page you can enter the contact details for this employee’s next of kin.
Each employee can have up to 2 Next of Kin contacts listed on the software, and all of their contract details can be entered, however all fields are option and can be left blank.
Once you have entered these details you can switch to the Leave Entitlement page (Fig 5)
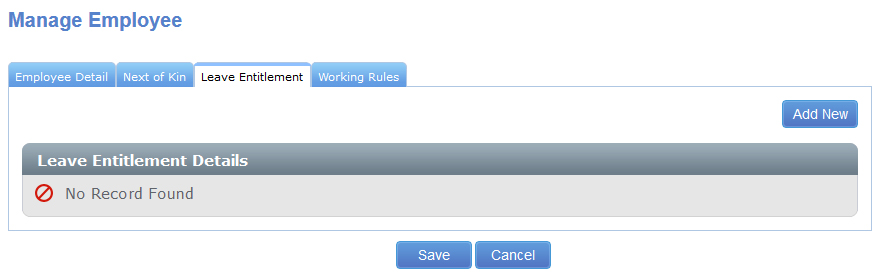
Fig 5
You can set the employee’s Leave Entitlement for your leave cycle i.e. how many holidays they are entitled to over the year. To do this click Add New. An entry will be added in the Leave Entitlement Details table (Fig 6).
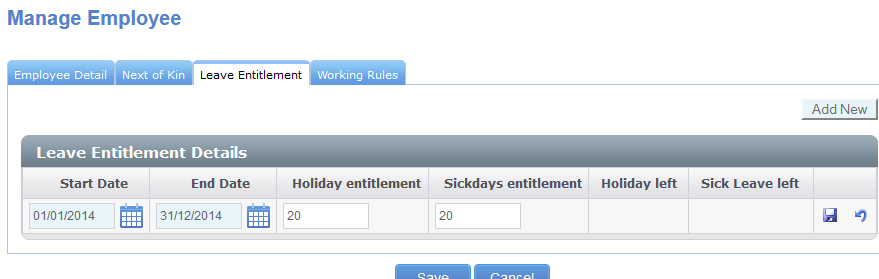
Fig 6
In the Start Date you should enter the start of your leave cycle. In the End Date you should enter the end date of your leave cycle i.e. if you leave cycle was a year from the first of January the Start Date would be 01/01/14 and the End Date would be 31/12/14. In Holiday Entitlement enter the number of days holiday the employee is allowed in that leave cycle. In Sickdays Entitlement you can enter the number of sickdays the employee is allowed in the leave cycle, if the employee not entitled to any then leave this at 0. Click the floppy disk icon to save this entry. Once you have saved it the Holidays Left field will show the employee’s remaining amount of leave for this leave cycle.
At the end of the leave cycle the system will automatically insert a new entry into this table with the giving the employee the same leave entitlements for the next leave cycle. i.e. in the example above, on the 1st January 2015 a new entry will be added with a Start Date of 01/01/15 and an End Date of 31/12/15.
Once you have entered the Leave Entitlement click on Working Rules to switch to the Working Rules page (Fig 7).
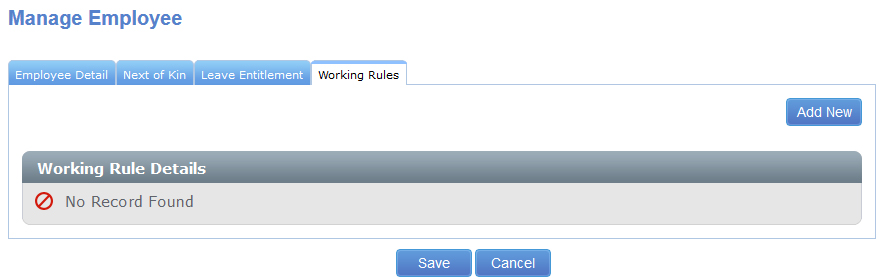
Fig 7
Working Rules control how an employee’s hours are calculated by the system. Over time the rules used my change. When assigning a Working Rule you can set the from and to dates the rule is used. To assign a Working Rule to the employee click Add New. An entry will be added to the Working Rule Details table (Fig 8).
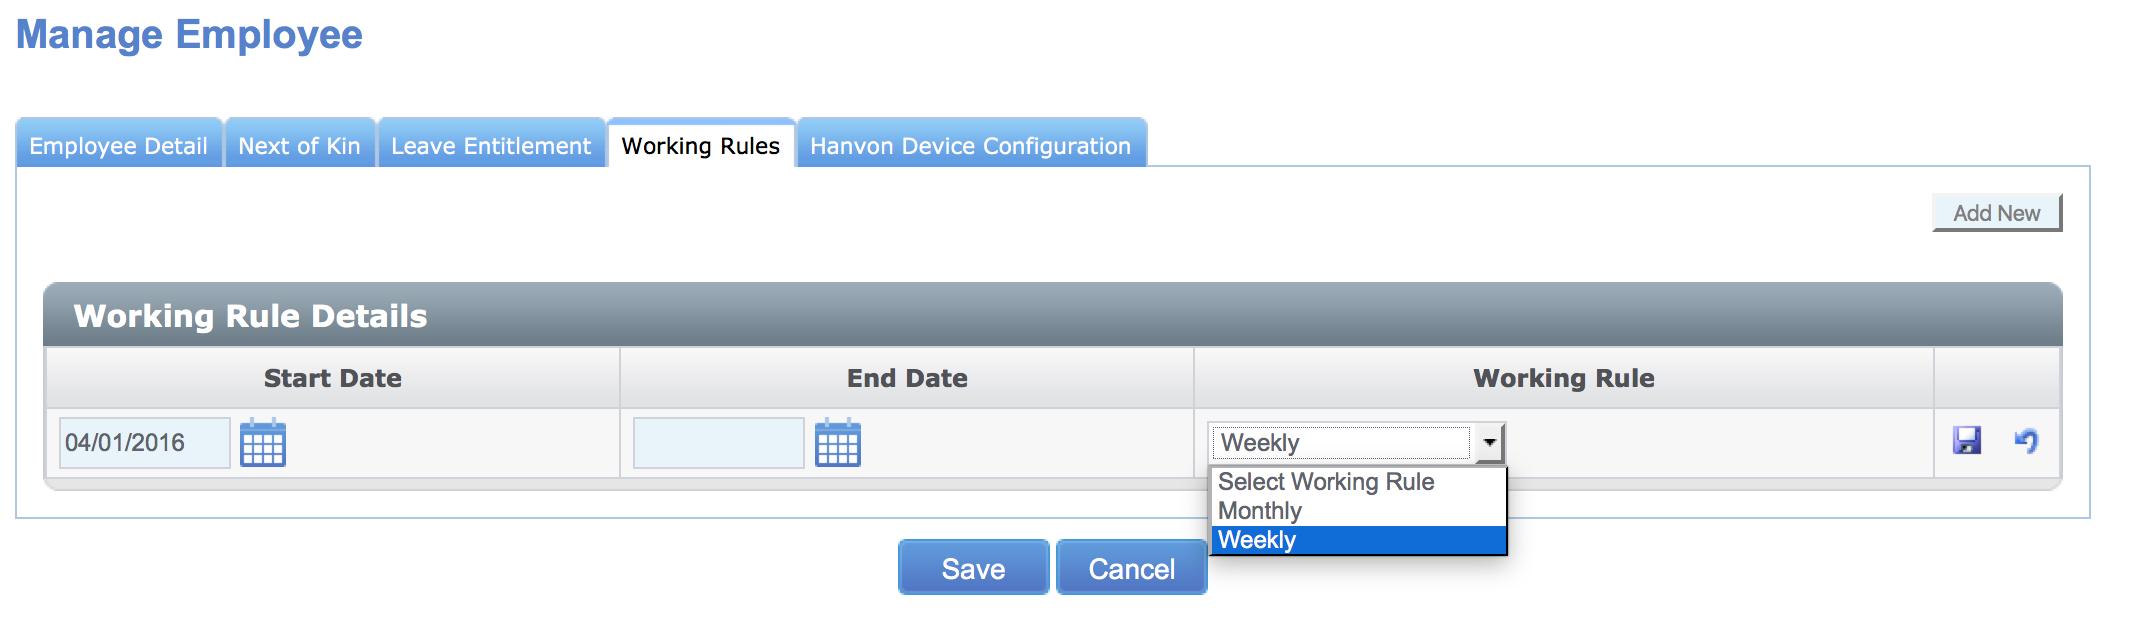
Fig 8
The Start Date should be set to the day the employee’s hours will start being calculated using this rule i.e. for a new employee this would be their start date.
If the employee is on this Working Rule for a set period of time you can enter an End Date, if they will be on this Working Rule for an undetermined amount of time you can leave the End Date blank.
Select the correct Working Rule from the drop down menu and then click the floppy disk icon to save this entry.
Once you have entered these details click the Save button to save the new employee in the system.