Once rotas have been entered into the system it is possible to email them directly to the relevant staff members. To be able to send an email to an employee email connection details must be entered in the System Settings page of the software. An email address must also be entered into the Email Address field of the Employee Details. From the Schedule Planner screen set the Filter criteria to show the employees and date range that the rotas are to be sent out over (i.e. if sending rotas for 24/04/17 – 30/04/17 for the admin department, set the From Date to 24/04/2017 and the To Date to the 30/04/2017, change the Select Employee By option to Department, change the Department option to admin (Fig 1) and then click Search.
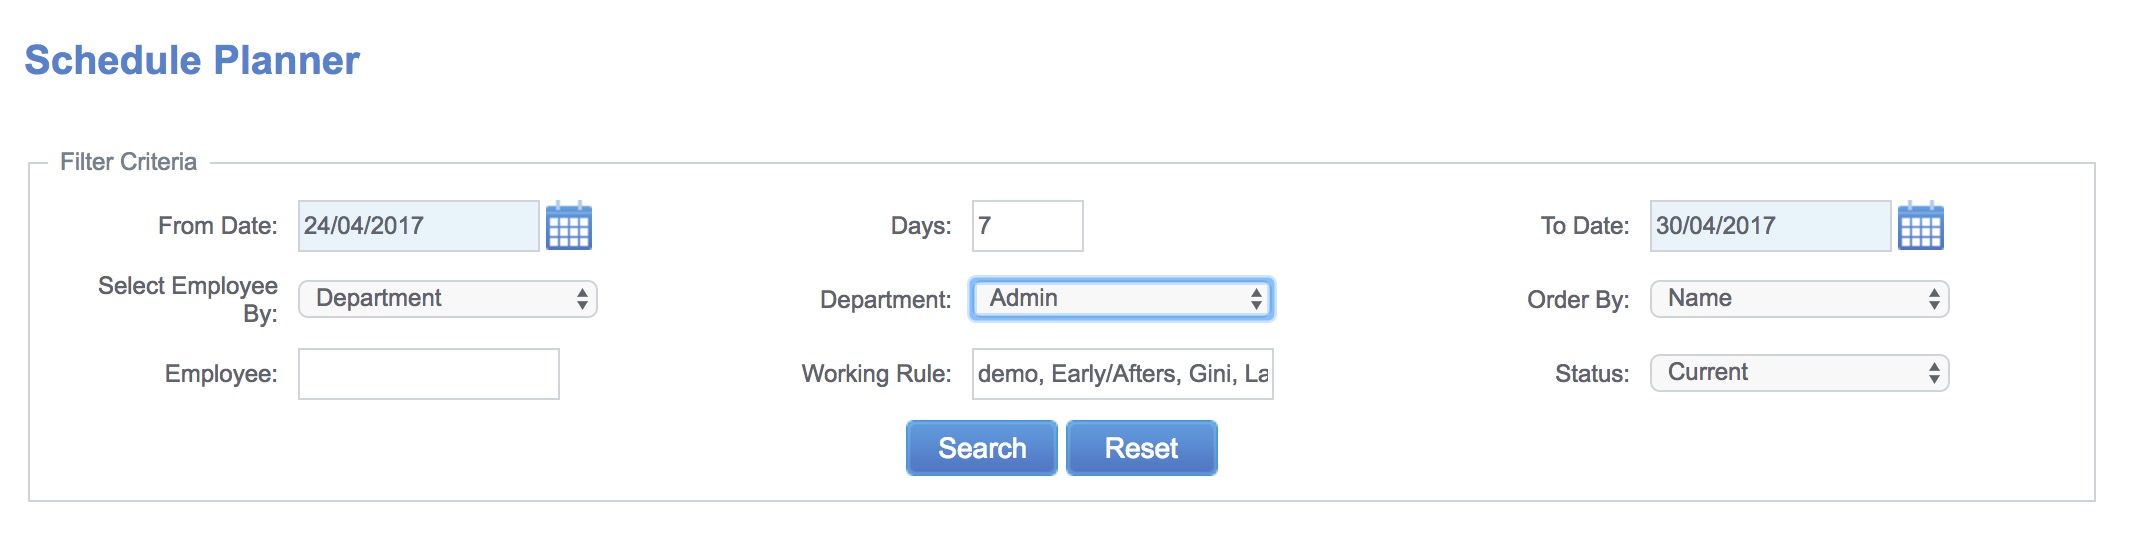
Fig 1
The Schedule Planner will refresh to show the selected information. At the top right hand side of the Schedule Planner are a number of different icons, the first icon on the left of these options is the Publish Rota’s button (highlighted by a red square in Fig 2). Clicking this button will send an email to the displayed employee’s giving them a list of the shifts they are rostered to work over the date range.
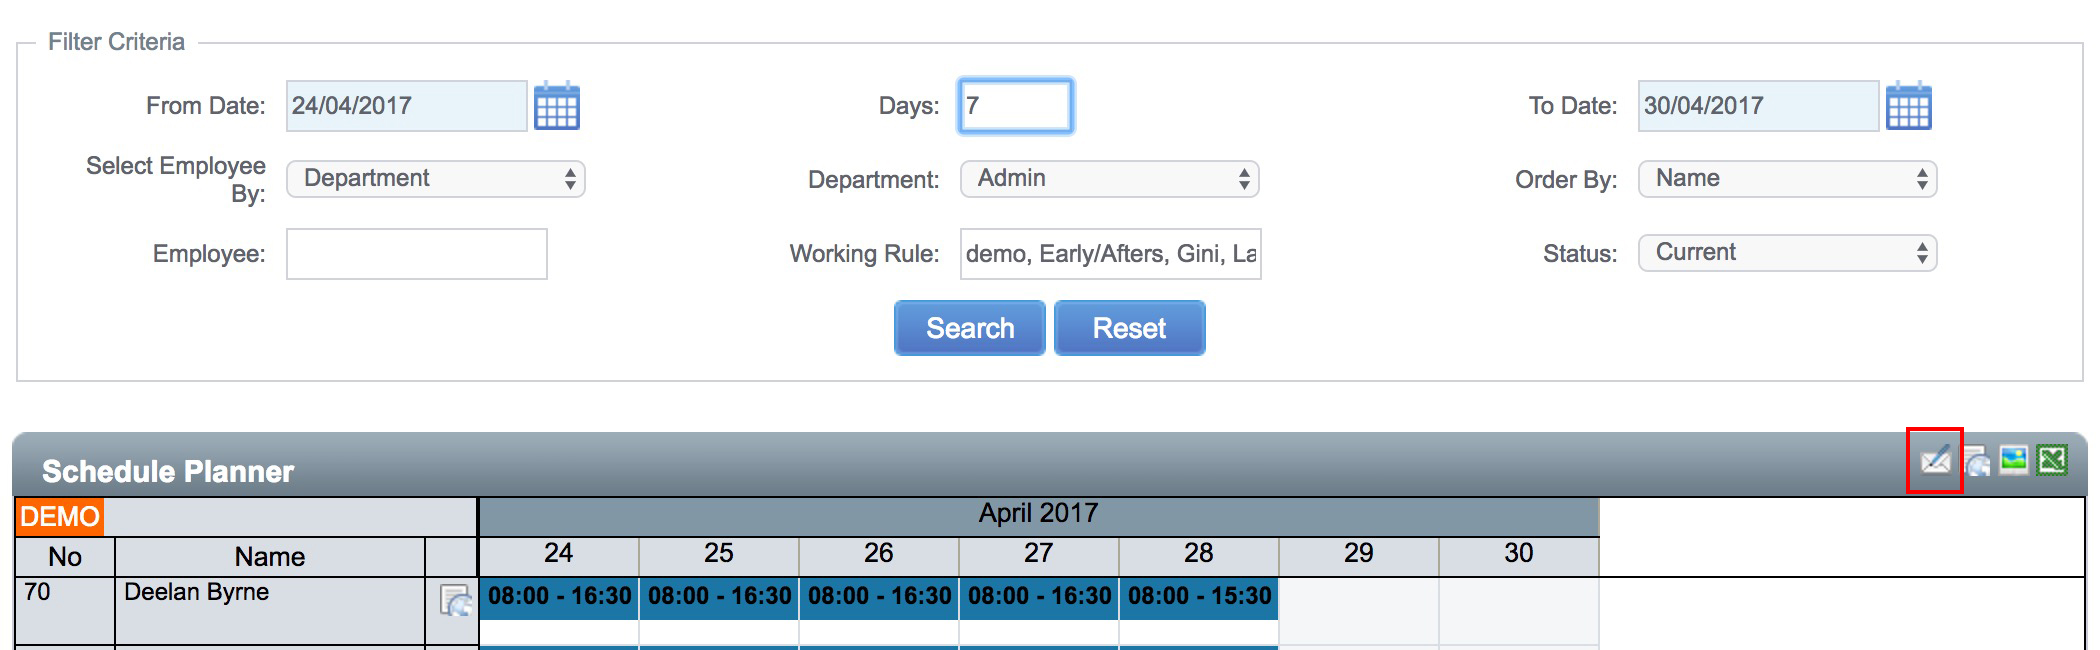
Fig 2
A dialog box will load listing any employees who do not currently have an email address entered into their employee file. It is possible to proceed with sending the emails at this point but the listed employees will not be sent their rotas.
If the rotas are edited at a later point it is possible to resend the email by loading the data on screen once more and clicking the same icon.