Extract all the files in Setup.zip to a folder on your PC. Once the extraction has finished, browse to the location of the files and run the application Install.exe (this must be run as an administrator).
The installation splash screen will load (Fig 1).
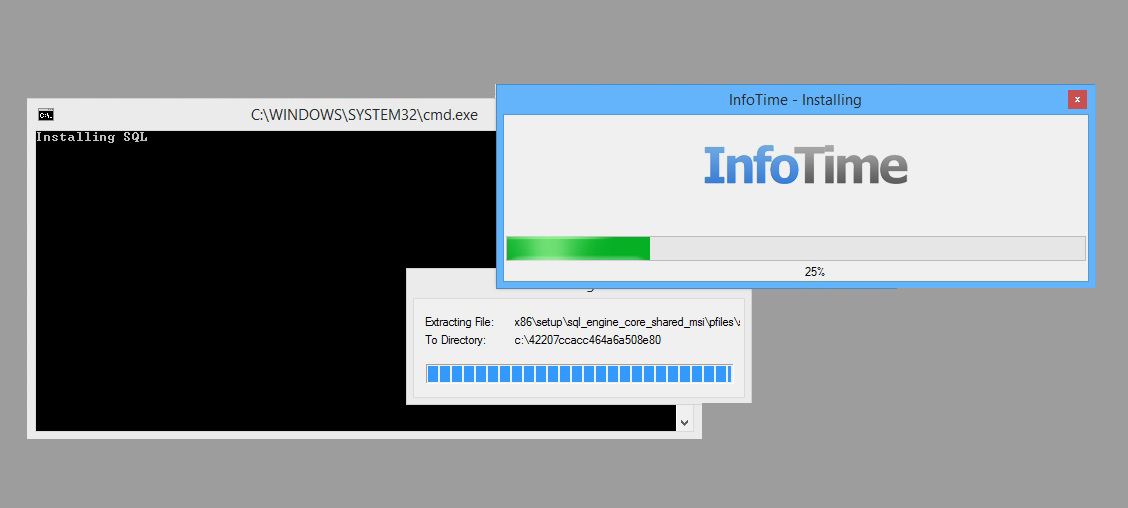
Fig 1
The installation routine will begin by making sure that all installation requirements for InfoTime are already installed on your computer. These are MS SQL, Microsoft Dot Net Framework 4 and Windows IIS Web Server. If these are not installed on the computer then they will be installed automatically by the setup routine and configured for use with InfoTime.
Once this is completed the installation routine for the user interface will start. Click Next on the first screen (Fig 2).
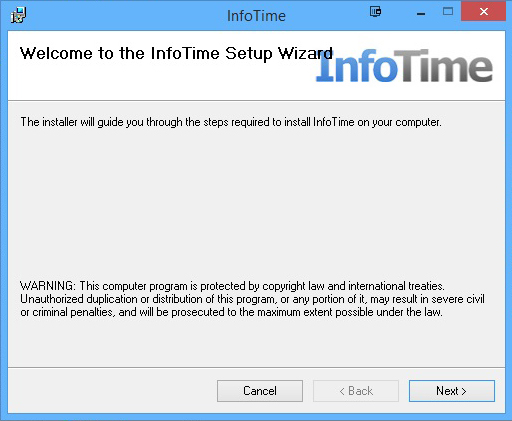
Fig 2
The next screen will ask for details of the Virtual Folder to install InfoTime in along with the application pool to use (Fig 3).
- The Virtual Folder will set the address used to access the software via the web browser after installation has finish. It is suggested you set this to InfoTime.
- The Application Pool can be selected from the dropdown list. The name will depend onthe version of Windows and Dot Net Framework installed on your PC, on Windows 8 this will be “.Net V4.5 Classic”. On earlier versions of Windows it could be “.Net V4.5 Classic” or “ASP.NET V4.0 Classic”. It should always be set to use the Classic style of .Net 4.
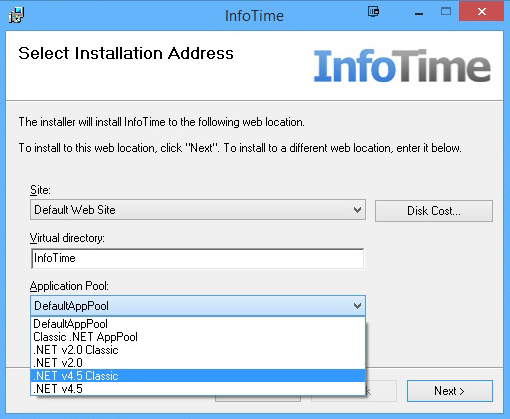
Fig 3
Once you have set these details, click Next to proceed. Then accept the licence details and click Next.
You will then be asked to confirm you wish to install InfoTime, click Next again. The next screen will ask for connection details for your SQL Server. The default values for the SQL server as installed earlier in this setup routine are, if you are using your own instance of SQL Server you will find these details from your IT Administrator:
| Database Server: | localhost\infotime |
| Database Name: | InfoTime |
| Username: | sa |
| Password | ClockingSystems123 |
Please enter these details in the corresponding boxes (Fig 4).
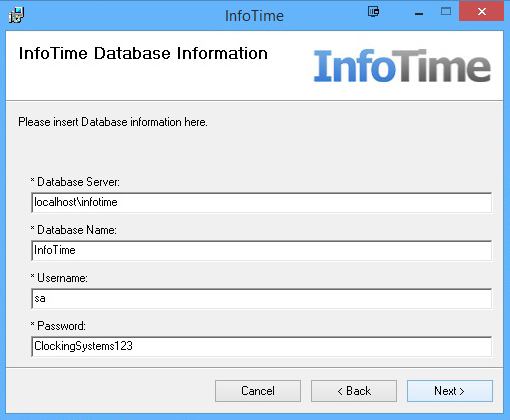
Fig 4
Once the details are entered, click Next. On the next screen the system will ask for local domain user details (Fig 5), these only need to be entered if the SQL in use is not using a SQL username. If the default instance of SQL is being used then these details do not need to be entered.
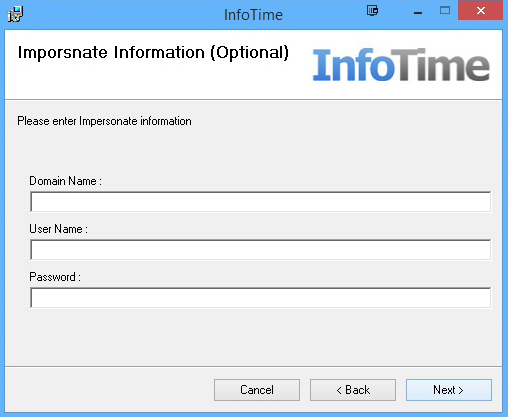
Fig 5
When the Next button is clicked the installation routine will proceed to install the web interface. Once the installation has finished a second installation routine will load. This second installation installs the Windows Service which runs in the background on your system to collect clockings from the terminal and calculate the employee hours (Fig 6). Click Next.
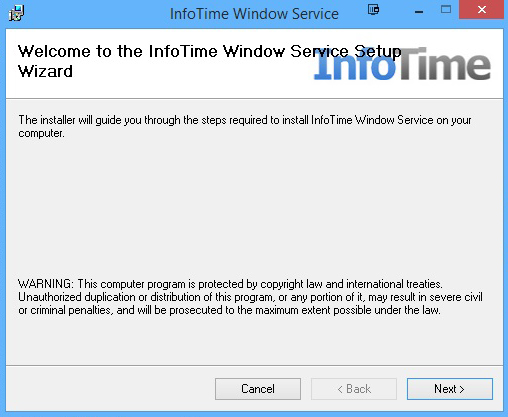
Fig 6
On the next screen the system will ask for details of where to install the files for the Windows Service. It is suggested you leave this as the defaults as shown in Fig 7. Click Next to proceed.
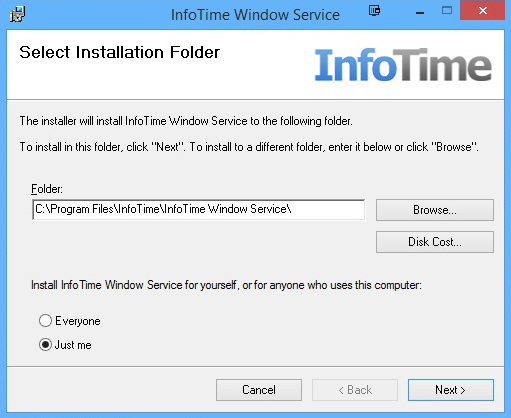
Fig 7
The next screen will load the Licence Agreement (Fig 8), accept this and click Next.
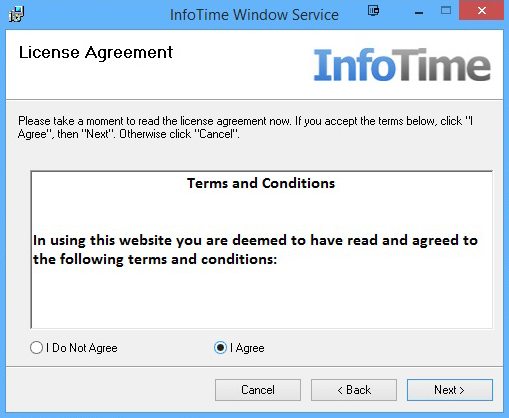
Fig 8
The system will then ask for confirmation that you wish to install the service. Click Next and another screen will load which asks for connection details to the SQL server to be used.
These must be the same as the ones used during the installation of the web interface. The defaults are:
| Database Server: | localhost\infotime |
| Database Name: | InfoTime |
| Username: | sa |
| Password | ClockingSystems123 |
Enter these details in the relevant boxes and click Next (Fig 9).
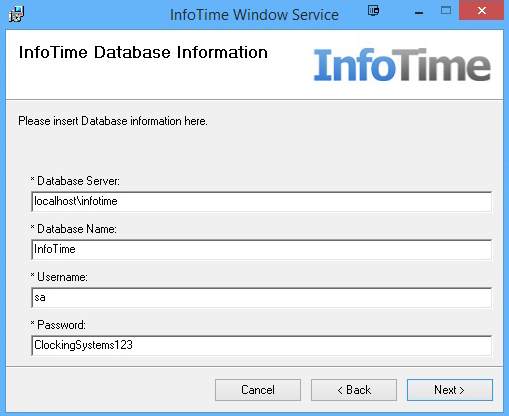
Fig 9
Once the Next button is clicked the installation will proceed. Once it has finished, click Close. This completes the installation of the system. To access the software, open a web browser, in the address bar enter http://localhost/[VirtualDirectory] where the virtual directory is replaced by the value you entered in the Virtual Directory box during the first part of the installation. For instance if you used InfoTime as the Virtual Directory name the address would be http://localhost/InfoTime.