If purchased the Roster to Role module allows the user to assign a job role to an employee when they set a scheduled start and finish time. It’s then possible to monitor the hours worked against each role by that employee and by all employees over a date range.
Setting up Roles
Before employees can be rostered to a role the roles needed to be defined. When the Roster to Role module is enabled an additional Classification is made available called Role. Unlike the other Classifications employees are not assign to a role when they are added to the system.
From the top menu select Configuration – Classifications (Fig 1).

Fig 1
The Classifications section of the system will then load (Fig 2).

Fig 2
From this screen select the Add New button. An additional entry will be created in the Role List which the fields open for you to define the role (Fig 3).

Fig 3
The Role Code is any short code you want to assign for this role. The Role is the actual name of the role, this is the information that will be shown when assigning a role to an employee. Once you have entered this information click floppy disk icon to save the role. It as is possible to define as many roles as needed.
Assigning a Role to an Employee
Roles can only be assigned to employees based on their scheduled start and finish times (i.e. the employee will work 09:00-17:00 as Admin). If an employee is to work more than one role on a given day then a Split Shift can be applied which will allow for the hours to be split between two roles. To access the Schedule Planner click on Timesheet – Schedule Planner (Fig 4).
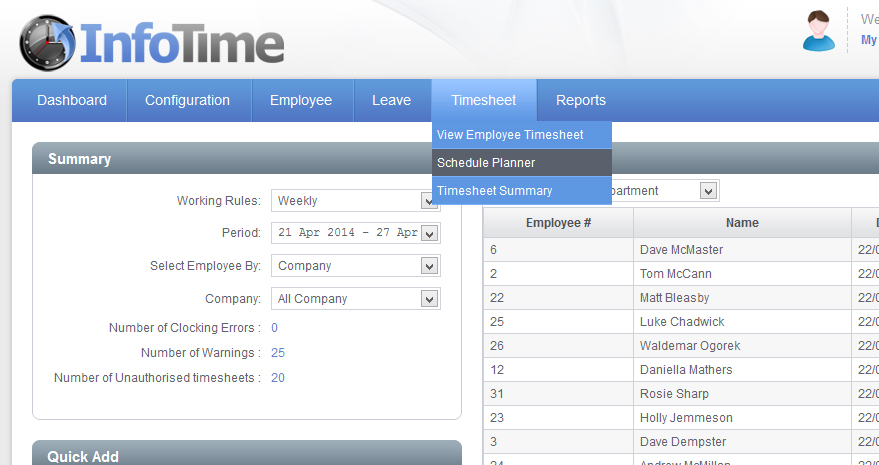
Fig 4
The Schedule Planner screen will load. Initially it will only show the Filter Criteria (Fig 5)
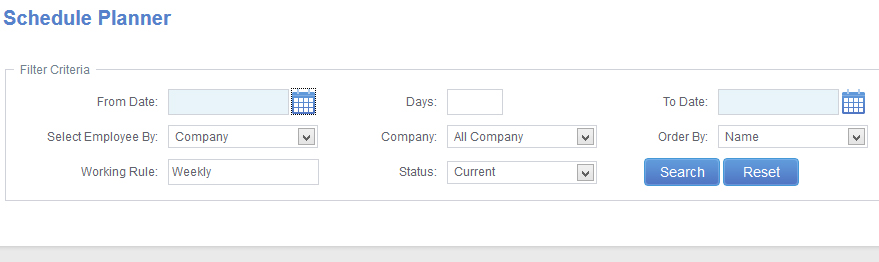
Fig 5
The first thing you need to do is set the date range you wish to see. You can set the date range to be as long as you require i.e. if you are entering a roster for this week just select this week, if you are entering a pattern that repeats every three weeks set the date range to show the three weeks. It is advisable to set the From Date as the first day of the pattern and then the To Date to the last day of the pattern.
You can also set the filter to only show employees in a particular Department, Company, etc. Once you have set the criteria click the Search button.
The screen will refresh to look like Fig 6.
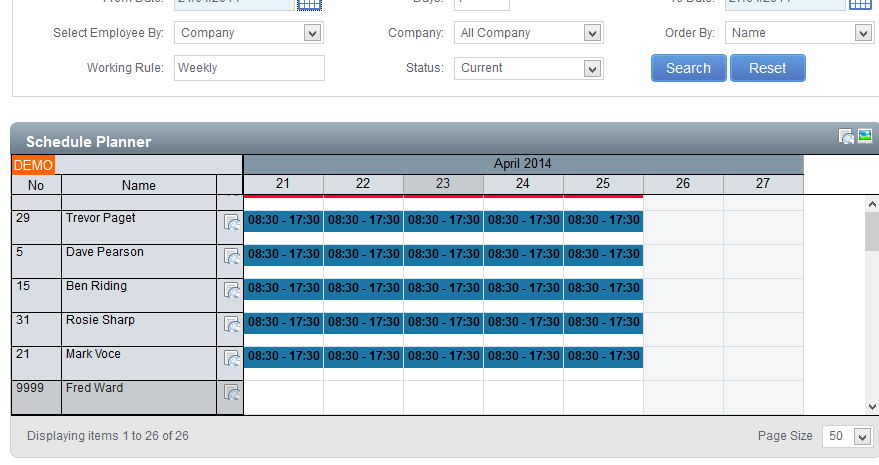
Fig 6
To enter a schedule and assign a role on a particular day, locate the employee and right click on the day you wish to set a start and finish time for, a menu will load (Fig 7).
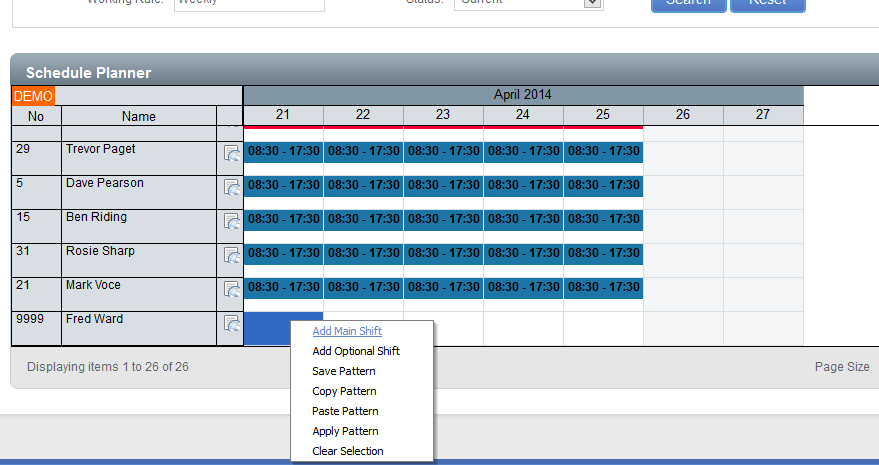
Fig 7
From the menu select Add Main Shift.
The Manage Shift Schedule Wizard will load (Fig 8).
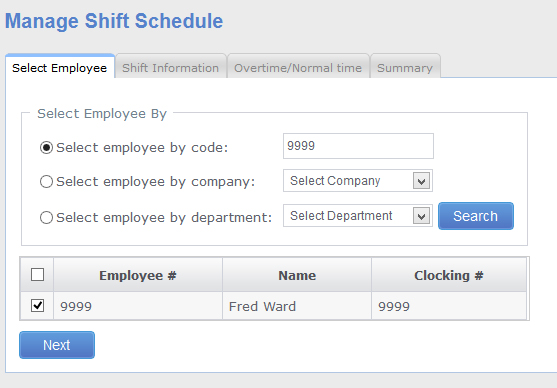
Fig 8
The screen confirms which employee you have selected. Click Next.
The next screen details the Shift Information such as Start Time and End Time (Fig 9).

Fig 9
Enter the Start Time and End Time in 24 hour format. Use the drop down menu next to Role to select the Job Role assigned to the employee for this schedule. For the Display Colour click the colour selection tool to the right of the box containing the colour code, you can then pick the colour displayed on the schedule planner from the list of available options.
Click Next, a summary will then be displayed giving details of the schedule you have entered (Fig 10). If you are happy with the settings click Save to add the schedule. Otherwise click Previous to go back and amend the shift.
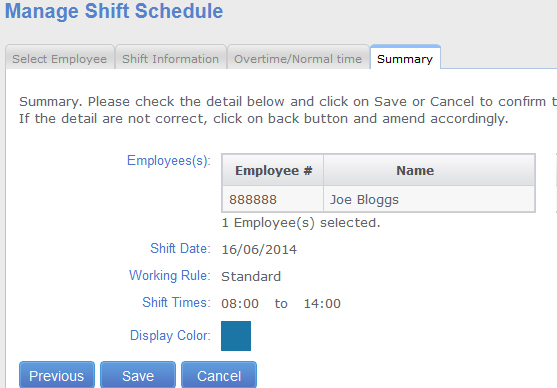
Fig 10
Viewing Hours Worked at Each Role by one Employee
Once an employee is scheduled to a Job Role it is possible the view the hours worked at each Job Role on the Employee Timesheet. The hours will be shown on each day of the period and then at the end of the period a summary will be produced shown the hours worked against each role for the whole of that period.
To access the Employee Timesheet screen select Timesheet – View Employee Timesheet (Fig 11)
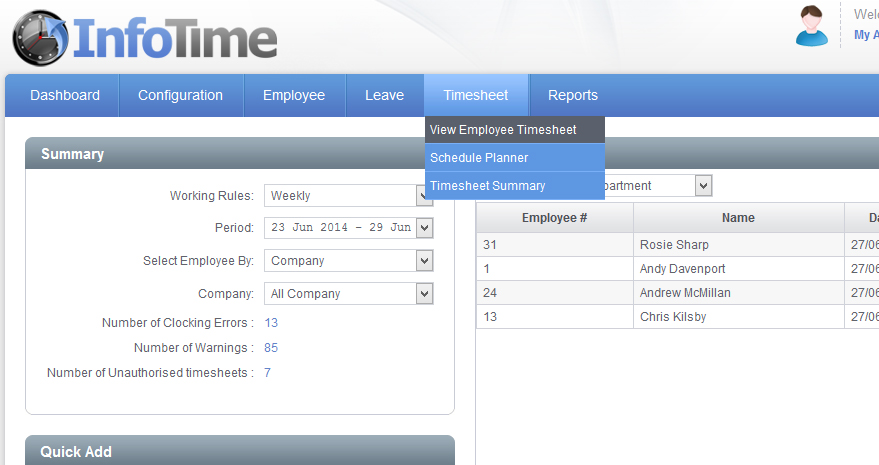
Fig 11
The Employee Timesheet screen will load (Fig 12)
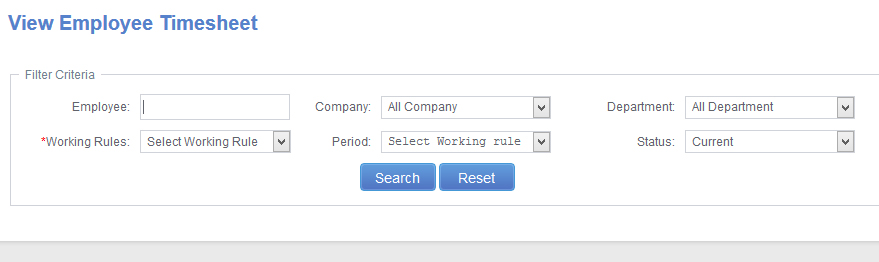
Fig 12
You can use these settings to determine which employees and which pay period you wish to with to look at. Set the Working Rule and the Period and then click Search.
The screen will refresh and the Timesheet for one employee will load (Fig 13).

Fig 13
On the timesheet an entry will be made for each day of the Pay Period. In this entry you will see the Expected Shift, the Clockings, any warnings, any paid breaks and then the total hours worked split into the different time categories.
At the bottom of the screen you can cycle through the employees using the arrow keys.
Viewing Hours Worked at Each Role by All Employees
Using Role Tracking Analysis it is possible to review the hours worked at each role over a given date range. To access Role Tracking Analysis, from the menu bar select Reports – Role Tracking Analysis (Fig 14).

Fig 14
The screen will change to show the report Filter Criteria (Fig 15). A similar screen will load regardless of which report you chose.

Fig 15