You only need to setup a terminal if you are collecting data via TCP/IP. If you will be collecting your information by USB datastick then this section can be ignored.
Once you have logged into the software go to Configuration – System Settings (Fig 1).
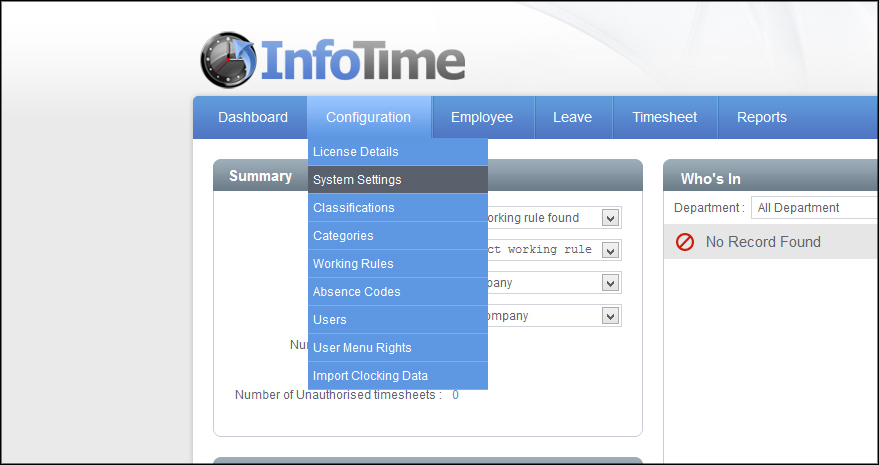
Fig 1
From the System Settings screen click on the Device Configuration tab (Fig 2).
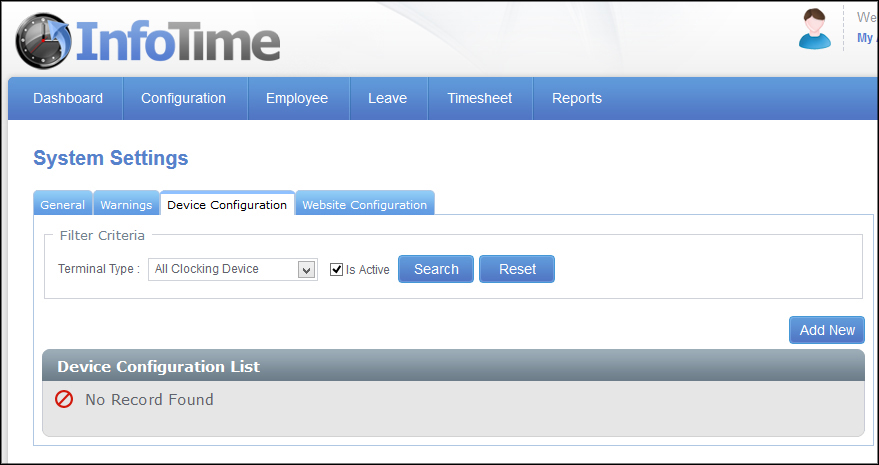
Fig 2
This will show a list of the devices that are currently set up in your database. Click the Add New button.
A blank entry will then be created allowing you to enter the details for the new terminal. Under the Terminal Type click the dropdown menu to select the correct device (Fig 3).
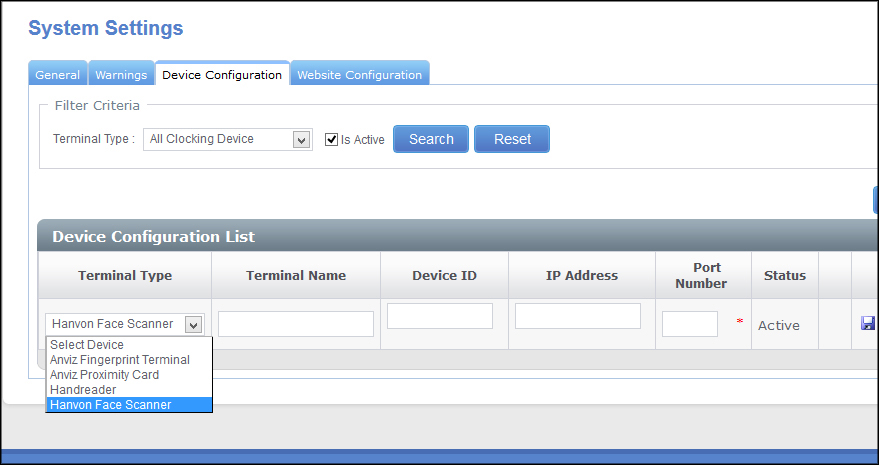
Fig 3
In the Terminal Name box enter a name for this device, this name is one of your choice which will allow you to see at which terminal a clocking was made when viewing original clockings.
The value to be entered in the Device ID box will depend on the type of terminal you are connecting. With a Handreader and a Face Scanner the device ID can be any number i.e. device A is Device ID 1, device B is Device ID 2. With the Fingerprint Terminal and the Proxy Card the Device ID should match the Device ID of your terminal.
Enter the IP Address of the device in the IP Address box, if you are unsure of the IP Address this can be checked in the device menus.
The Port Number box is only available with the Face Scanner, by default this should be set to 9922.
Once you have entered the details click the floppy disk icon shown at the right hand side of Fig 3 to save this entry.
After the terminal is added to the system the software will automatically check for new clockings on the terminal every minute. New clockings will be downloaded and added to the database without user interaction.