To access the Employee Timesheet screen select Timesheet – View Employee Timesheet (Fig 1)
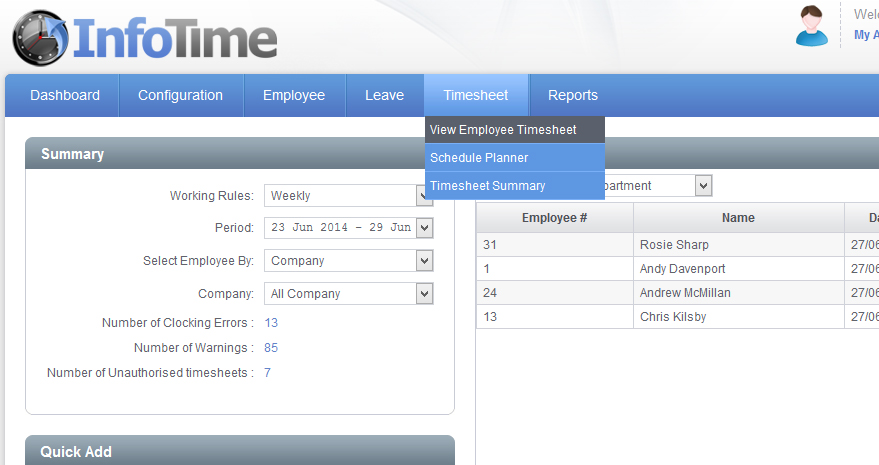
Fig 1
The Employee Timesheet screen will load (Fig 2).
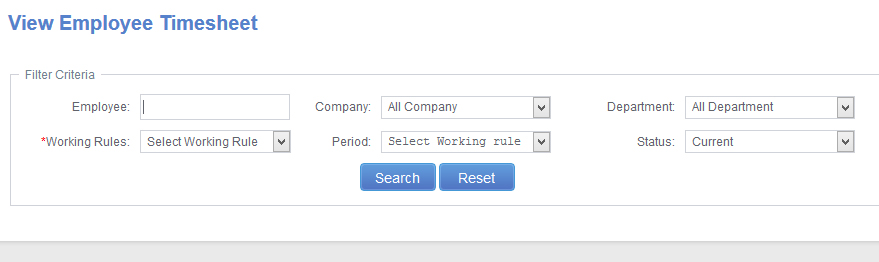
Fig 2
You can use these settings to determine which employees and which pay period you wish to with to look at. Set the Working Rule and the Period and then click Search.
The screen will refresh and the Timesheet for one employee will load (Fig 3).
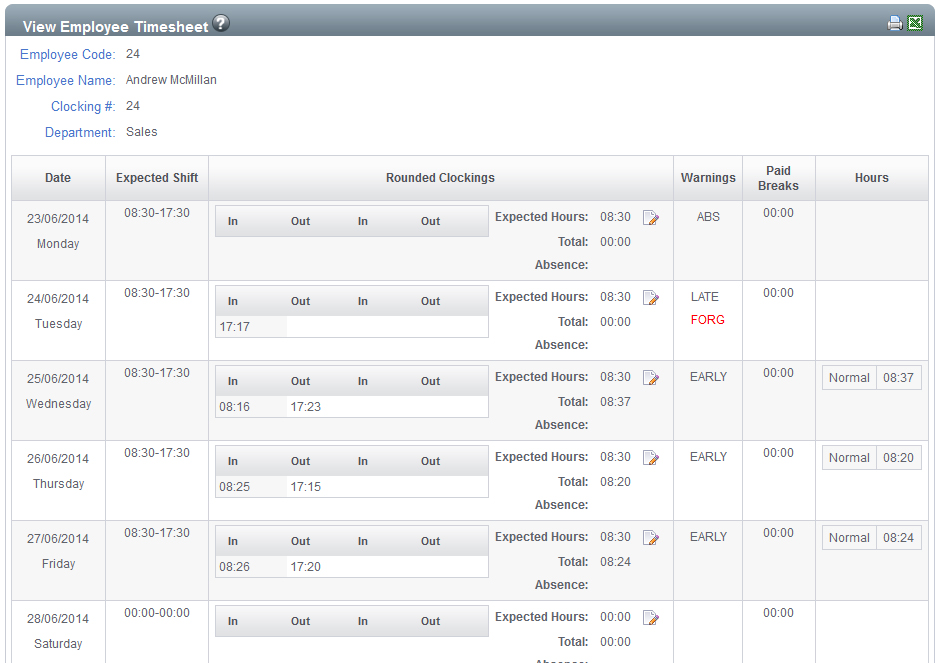
Fig 3
On the timesheet an entry will be made for each day of the Pay Period. In this entry you will see the Expected Shift, the Clockings, any warnings, any paid breaks and then the total hours worked split into the different time categories.
Locate the employee the timesheet for the employee you need to add a clocking for.
Once you are viewing the timesheet, locate the day where the clocking is to be added and click the Edit Clockings button (highlighted in Fig 4).
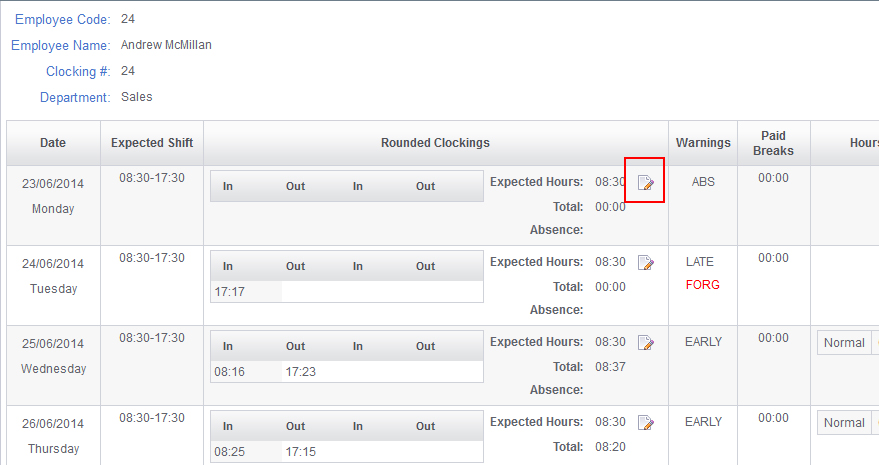
Fig 4
The Manage Clocking Data screen will load (Fig 6).
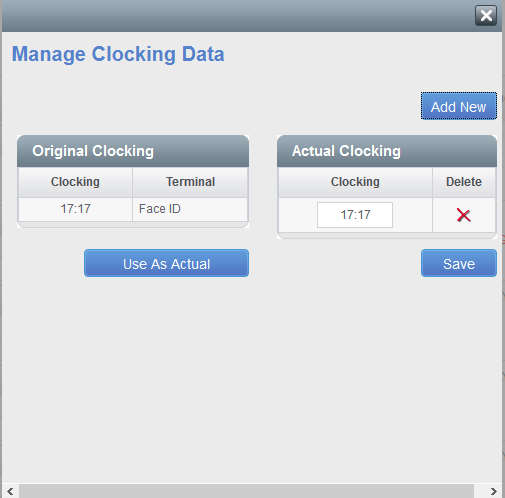
Fig 5
On this screen the Original Clockings on the left are the clockings made by the employee at your clocking terminal. The Original Clockings cannot be amended and adjusted in any way. The Actual Clockings on the right hand side are the same as the Original Clockings but you can add clocking, delete clockings and amend clockings.
Click the Add New button.
A new cell will be added in the Actual Clockings section with the time set to 00:00. The time of the clocking to be added can by typed into this box.
If you need to add another clocking on the same day then clicking Add New again will create another cell. Once you have added all the clockings or that day click Save.
The system will then recalculate the employee’s hours for that day taking into account the new clocking.